2

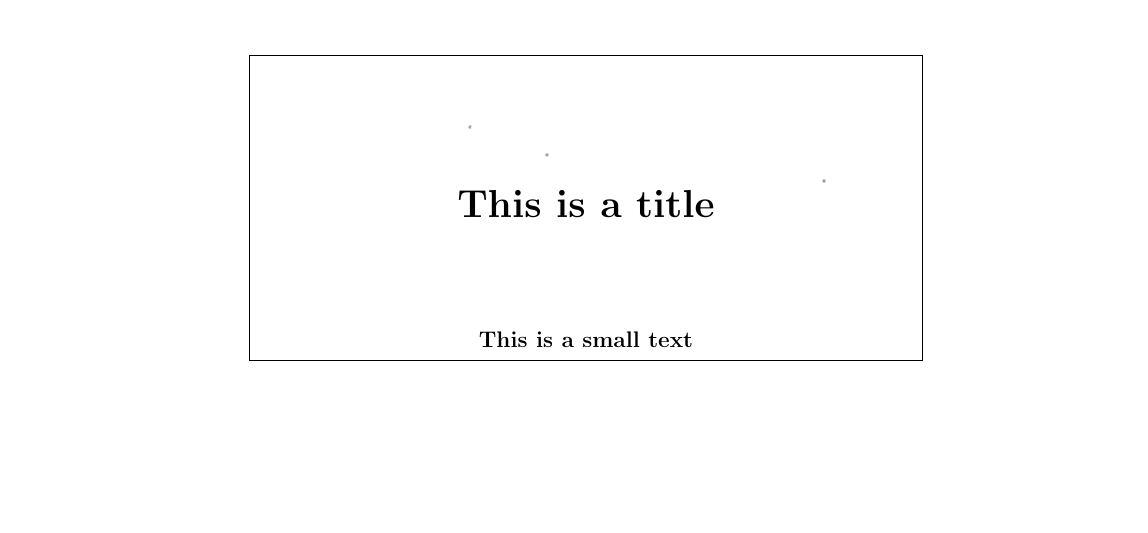
I want to place two texts in a box with dimensions of 100*\textwidth, one in the center and one at the top or bottom using standard LaTeX without packages. I achieved this using tabular as follow:

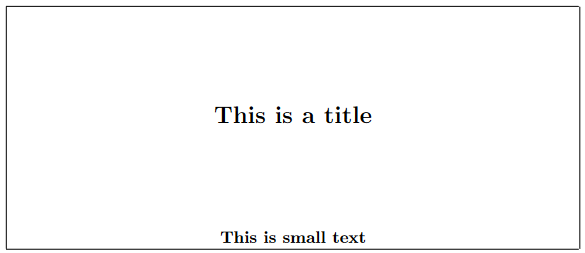
enter image description here

\documentclass{article}
\usepackage{xcolor}

\begin{document}
    
    \begin{center}
        \fbox{
            \parbox{\textwidth}{
                \centering\begin{tabular}{c}
                    \textbf{\large }\\[2cm]
                    \textbf{\huge This is a title}\\[2cm]
                    \textbf{\large This is a small text}
                \end{tabular}
            }
        }
    \end{center}
    
\end{document}

I want to know is there a simpler way for this? e.g. using \parbox and \raisebox? I tried to generate it using \parbox, but after adding the second text, the center text no longer stays centered. same problem using vbox (I know how to fix it using \phantom or \setbox but I am looking for a clean way)

\documentclass{article}
\usepackage{xcolor}

\begin{document}
    \fbox{ 
        \centering\vbox{\vskip 2cm
            \mbox{\textbf{\huge This is a title}}
            \vskip 2cm
            \mbox{\textbf{\large This is a subheading}}
        }
    }
\end{document}
4
  • 4
    Except for \vbox and \vskip nothing in your code is primitive TeX. I guess you mean standard LaTeX without packages.
    – Skillmon
    Commented Nov 5 at 15:12
  • 2
    your first box is much wider than textwidth, you must get overfull warnings. Commented Nov 5 at 16:20
  • @DavidCarlisle you are right. but it is ok for test. :)
    – C.F.G
    Commented Nov 5 at 16:22
  • 4
    C.F.G even when testing it's a good idea to add % at ends of lines or @egreg gets very unhappy Commented Nov 5 at 16:28

5 Answers 5

10

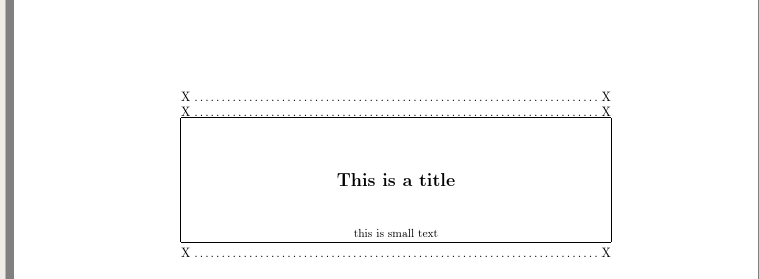
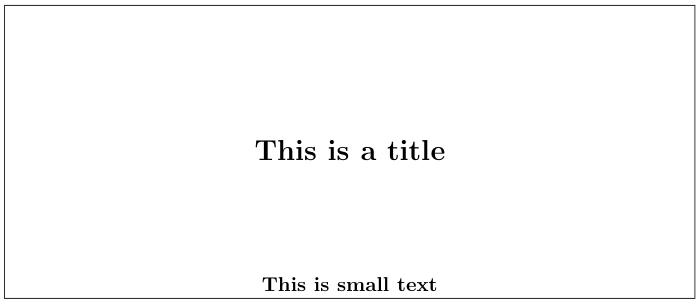
enter image description here

Picture mode (it's not just for aircraft):

\documentclass{article}

\begin{document}


\noindent X\dotfill X

\noindent X\dotfill X

  \noindent
  \begin{picture}(0,100pt)
  \put(0,0){\framebox(\textwidth,100pt){\Large\bfseries This is a title}}
  \put(0,0){\makebox(\textwidth,100pt)[b]{\strut\small this is small text}}
  \end{picture}


\noindent X\dotfill X


\end{document}
2
  • even when testing it's a good idea to add % at ends of lines or @egreg gets very unhappy :)
    – C.F.G
    Commented Nov 5 at 16:31
  • 3
    @C.F.G there are no missing % here (picture mode takes care of white space) Commented Nov 5 at 16:43
8

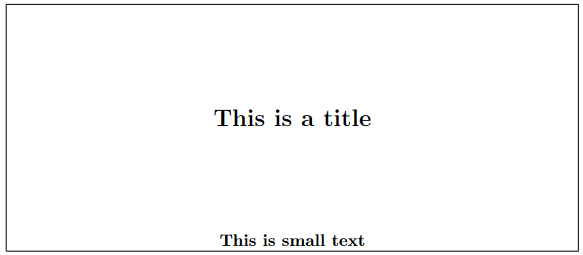
If you want to create this with \parbox you should use the optional arguments of that macro to specify a target height and fill method. You can then wrap an \fbox around:

\documentclass{article}

\begin{document}
\fbox
  {%
    \parbox[b][5cm][s]{\dimexpr\linewidth-2\fboxsep-2\fboxrule\relax}
      {%
        \centering
        \vfil
        {\bfseries\Large This is a title\par}%
        \vfil
        {\bfseries This is small text\par}%
      }%
  }
\end{document}

enter image description here


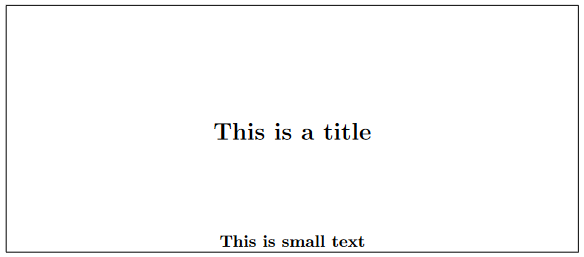
To get the text perfectly vertically centred, the easiest solution is to just put the same contents as at the bottom of the box at its top, but invisibly.

\documentclass{article}

\begin{document}
\fbox
  {%
    \parbox[b][5cm][s]{\dimexpr\linewidth-2\fboxsep-2\fboxrule\relax}
      {%
        \centering
        \phantom{{\bfseries This is small text}}\par
        \vfil
        {\bfseries\Large This is a title\par}%
        \vfil
        {\bfseries This is small text\par}%
      }%
  }
\end{document}

enter image description here

5
  • The center text is not exactly in the center (vertically). Am I right?
    – C.F.G
    Commented Nov 5 at 15:58
  • @C.F.G no, it isn't. Does it have to be?
    – Skillmon
    Commented Nov 5 at 16:04
  • yes. that is exactly one of my problems.
    – C.F.G
    Commented Nov 5 at 16:05
  • @C.F.G done. (more characters)
    – Skillmon
    Commented Nov 5 at 16:12
  • ah, you used same trick (\phantom) that I've said in my question. is there a direct way? For example, put the first text in the center, then add the second text without depending on the first text?
    – C.F.G
    Commented Nov 5 at 16:20
8

The following is using primitive TeX (except for \centering, \bfseries, \strut, and \Large, well, and \documentclass{article}, \begin{document} and \end{document}). This answer is meant to be educational and not for productive use in a LaTeX document.

\documentclass{article}

\begin{document}
\vbox
  {%
    \hrule
    \noindent
    \vrule
    \vbox to 5cm
      {%
        \advance\hsize-.8pt % compensate for the two \vrule
        \centering
        \vfil
        {\bfseries\Large This is a title\strut\par}%
        \vfil
        {\bfseries This is small text\strut\par}%
      }%
    \vrule
    \hrule
  }
\end{document}

enter image description here

An even more stripped down version, getting rid of \centering (the shown code is not 100% equivalent to LaTeX's \centering), and getting the text vertically centred:

\documentclass{article}

\begin{document}
\vbox
  {%
    \hrule
    \noindent
    \vrule
    \vbox to 5cm
      {%
        \advance\hsize-.8pt % compensate for the two \vrule
        \leftskip=0pt plus 1fil
        \rightskip=0pt plus 1fil
        \parfillskip=0pt
        \parindent=0pt
        \setbox0\vbox{\bfseries This is small text\strut\par}%
        \vrule height \ht0 depth \dp0 width 0pt
        \vfil
        {\bfseries\Large This is a title\strut\par}%
        \vfil
        \box0
      }%
    \vrule
    \hrule
  }
\end{document}

enter image description here

3

e.g. using \parbox and \raisebox?

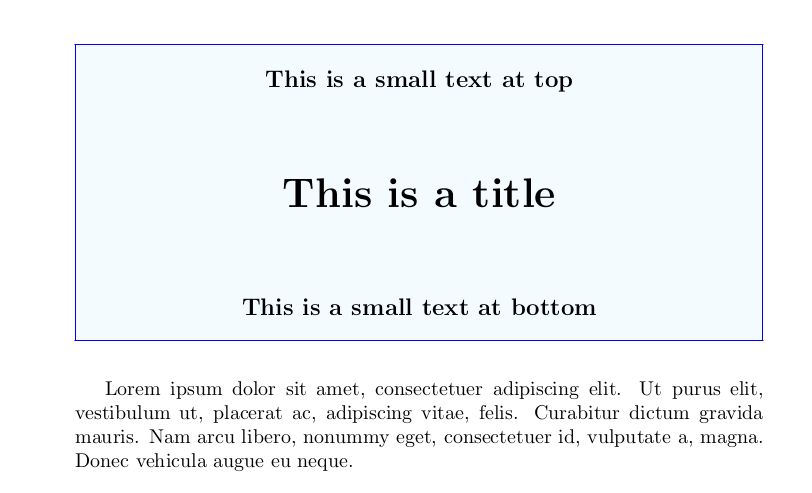
Well, if simpler it is debatable, but you can place the title in a mini page to centre it vertically and horizontally in the box, and then use \raisebox to set other text somewhere without affecting the title position. The bad news is that the exact position of the bottom or top text is up to you.

\documentclass{article}
\usepackage{xcolor}
\usepackage{lipsum}
\begin{document}
{\bfseries\centering\large 
\noindent\fcolorbox{blue}{cyan!05}{%
\begin{minipage}[c][5cm][c]{\dimexpr\linewidth-2\fboxsep-2\fboxrule}
\centering\huge This is a title
\end{minipage}}
\raisebox{.5cm}[0pt][0pt]{This is a small text at bottom}\par
\raisebox{5cm}[-5cm][-6cm]{This is a small text at top}\par}
\lipsum[1][1-5]
\end{document}

mwe

1

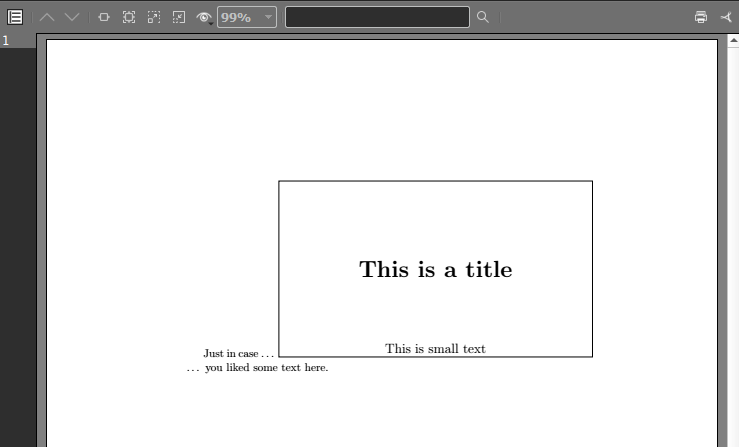
Here is a Tikz-way to do it, i.e. using the Tikz package:

\documentclass[10pt,a4paper]{article}
\usepackage{tikz}

\begin{document}
 Just in case \dots\ 
 \tikz{
    \node[draw,font={\huge\bfseries},inner sep=25mm] (A) {This is a title};
    \node[anchor=south,font={\large}]       at (A.south) {This is small text};}
 \dots\ you liked some text here.
\end{document}

where:

  • \tikz{ ... } is a shortform for a tikzpicture environment
  • think of \node as a label you can place
  • [draw,font={\huge\bfseries},inner sep=25mm] draws the shape; using inner sep is just one possibility to vary shapes size
  • name the first \node[...] (A) {...};
  • place the second node relative to it, i.e. anchor it south (middle bottom) at A's south
  • in a simple case like this you don't need to explicitely state coordinates, like \node[...] (A) at (0,0) {...};
  • I put some inline text for reference

result

2
  • 1
    But you need to load a package (and a big one at that ... =) Commented Nov 5 at 18:56
  • That's why it's written there ;-) // Analysing the no-package-requirement would be recommended ...
    – MS-SPO
    Commented Nov 5 at 19:15

You must log in to answer this question.

Not the answer you're looking for? Browse other questions tagged .